First things first, why was there even a need for a back-office?
To put it simply, there is a necessity to have a place in which Switch staff can easily read, add or update valuable information in Switch’s services. This platform is supposed to allow users to perform repetitive useful tasks more efficiently. This can be something like accessing data to support our clients or even to help our engineers with debugging. There is currently a long list of functionalities that would ease the day-to-day life of the Switch team, but the priority is creating a back-office that is well-built and scalable, instead of one including more functionalities but with less thought behind it.
The first thing I did was gather requirements. I talked with almost all the departments from Switch to find out if they had any issue that could conveniently be solved through the back office. The issue with greater importance at the moment was making Switch’s operations team efforts in client support more efficient while at the same time providing a tool for our engineers to solve support tickets with ease. To investigate why a given charge, instrument, payment, refund, or reversal went wrong, a member of the operations team had to log into both Jenkins & Switch’s Dashboard to eventually find out this information. This process was slow, repetitive, and strenuous since Jenkins also has a bad user interface, which makes it harder to extract important information. With this in mind, retrieving operations data was chosen as the number one requirement to focus on.
Thinking of different ways the back-office could be built, some doubts arose. For example, I was unsure whether I should create a server to aggregate all the information the platform will use, or whether I should simply make calls and add endpoints to Switch’s microservices and subsequent servers. I had to take into consideration issues such as preventing the overload of Switch’s APIs. Regarding whether the back office should have its own server, we decided that it shouldn’t have one. The reasoning behind this is that this way there is less complexity added to Switch’s infrastructure and there’s more versatility since each feature that is added will be developed in the most appropriate microservice Switch has.
Creating New Endpoints
Concerning the first requirement, which is fetching the operation data stored in a charge, instrument, payment, refund, or reversal, this was implemented by creating a new endpoint inside Switch API that fetches this information according to three parameters: object_type, object_id, and merchant_id. This way, staff can access a specific object. This endpoint, despite looking simple, ended up creating really nice debates regarding security and implementation.
Firstly, I had to verify that whoever is making this request has correct authentication and authorization permissions. These permissions were thoroughly discussed before a decision was made since the information that is transmitted in these requests is highly confidential.
If these permissions are successfully validated, the next thing I do is validate and clean the parameters that are sent in the request.
With clean parameters, I can move forward and retrieve the merchant and all of its descendants through the merchant ID that is passed in the request parameters. Then, querying all objects of a certain object_type, I search for the object_id inside a list of the given merchant and its descendants returning a JSON object containing the requested data. This endpoint was implemented following the REST architectural style:
200 Okand the operation data.400 Bad Requestand a failure message describing the error.401 Unauthorizedand a failure message describing the error.403 Forbiddenand a failure message describing the error.404 Not Foundand a failure message describing the error.
To ensure software quality, I also created numerous automated tests that cover all scenarios I could imagine happening. These consist of testing the endpoint with:
- authentication;
- authorization permissions;
- parameters;
- non-existing object IDs or merchants;
- among others.
Due to PCI DSS, my frontend could only make requests to the API Gateway, which meant I also had to create a proxy endpoint that itself makes a request to the Switch API.
Back-Office Authentication
Since this is an internal back-office, I had to ensure security measures exist in order to guarantee that only Switch staff is able to access the back-office.
To solve this, I created a login system that uses Switch’s very own identity provider. The frontend makes a POST request to the identity provider providing it with an email and password combination. If this combination is successfully validated, the identity provider will return a JWT that enables a way to authenticate requests made through the platform. Otherwise, it returns specific error messages we can display on the frontend.

Furthermore, I also implemented another way of logging into the back office. This was done through session authentication, which uses Django’s session framework to handle authentication.
Brand New Frontend
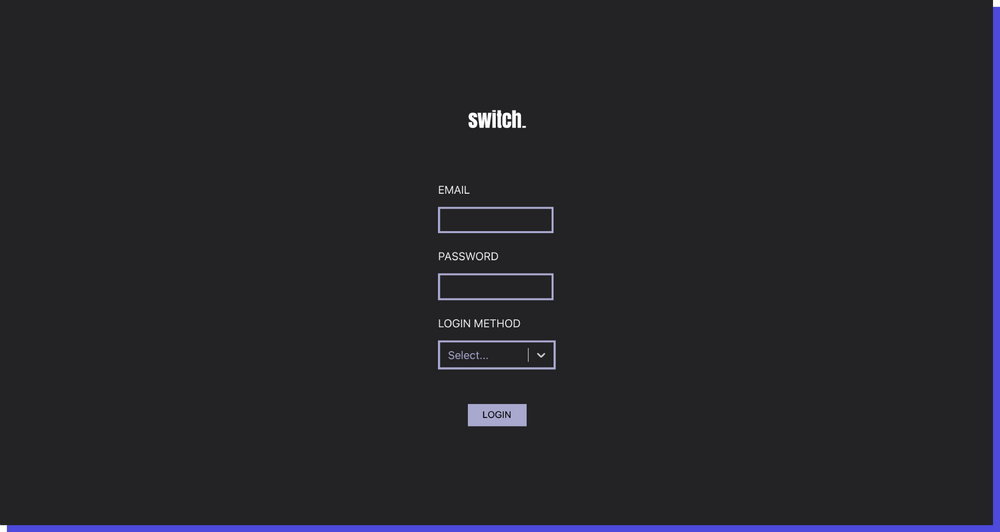
Before logging in, a user only has access to unprotected routes, which in the case of this back-office, is solely the login page. After successfully logging in, the user has access to the home page and subsequently all the pages that live in the sidebar.
Since this back-office is for internal use only, the UI wasn’t the main priority. With this in mind, the objective was to maintain Switch’s identity. Because of this, it was decided that the login page will be clean, straightforward, and similar to Switch’s current Dashboard.
To implement this, I broke the UI into a component hierarchy to make the code as reusable as possible in a typical React-esque style.
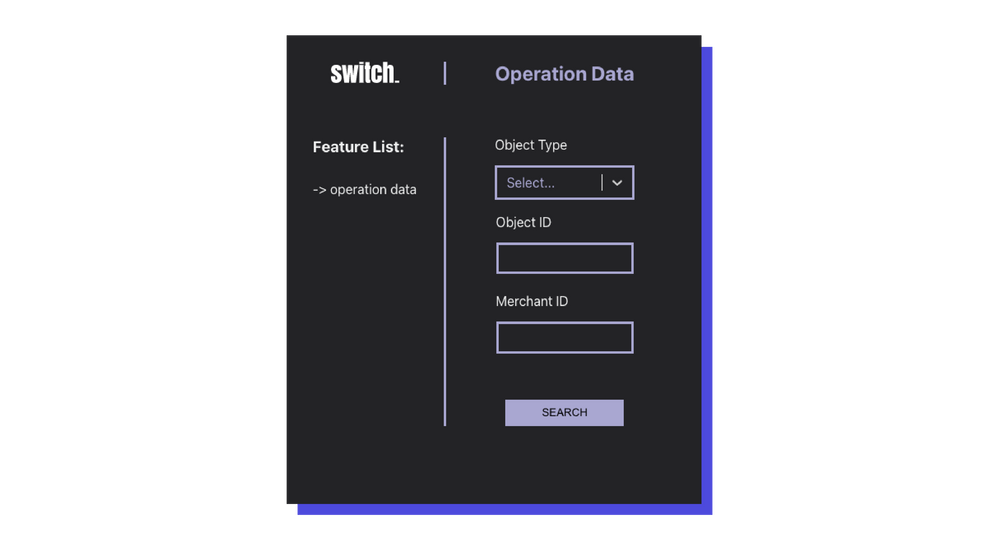
The home page of the back-office will consist of a sidebar with a list of the available features and the main content will depend on the information that is being presented to the user.

For instance, when a user wants to use the Operation Data feature, the UI looks like this — a simple form requesting the user to fill these 3 parameters.

If the request is successful, the back-office allows the user to view the response in two different formats. One of them was formatted by me and allows the user to copy a single element from the JSON object. The other one is the JSON in its raw format and allows the user to copy the entire object.
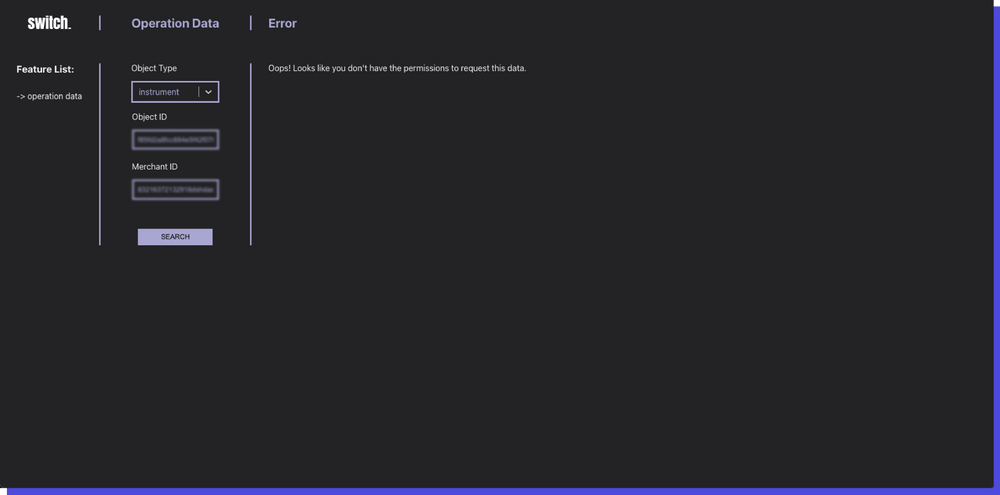
If the request is not successful, the user is presented with an error message.

What the future holds for this back office.
In the future, the back office will be incrementally updated with new features as new needs arise. This will be an effortless procedure since there are a lot of components ready to be reused and the authentication side is already handled.
At Switch, all the code is written with great attention to detail to ensure it is as bullet-proof as possible. I think this back-office is a great backbone for continuous improvement regarding how we handle data for our staff.